
Process
Eight steps. No shortcuts. One person.
Stone restoration is slow, wet, careful work. Here is exactly what happens between the photo you send and the floor you walk on.
- 1
Photos and a range
You send a wide shot and close-ups through the form. Austin replies the same business day with a price range and what he thinks the stone needs.
- 2
In-person look and firm price
A short visit to see the stone, test a small area if the finish is in question, and confirm the number. No charge, no pressure.
- 3
Protect the room
Baseboards, cabinets and adjacent floors masked; slurry contained; furniture moved and covered. The job is wet work done cleanly.
- 4
Clean and repair
Deep clean and extraction, stain poultices where needed, holes and chips filled with color-matched material, lippage ground flat on floors.
- 5
Hone
Progressive diamond grits remove etches, scratches and wear until the surface is uniform. For a matte or satin finish, this is where we stop.
- 6
Polish (if wanted)
Finer grits and a stone-specific compound bring up a true reflection in the stone itself. No waxes, no coatings.
- 7
Seal
A penetrating sealer slows staining so spills can be wiped before they set. It does not prevent etching; the care sheet covers how to avoid that.
- 8
Walkthrough and care sheet
You see the finish in daylight before paying. You get a one-page care guide and a reminder for a maintenance visit in a year or two.
Timing and mess
What to expect on the day
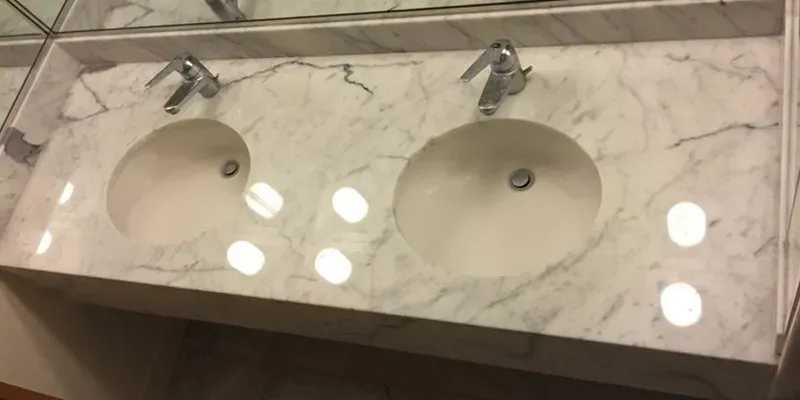
A kitchen counter is a half day. A typical condo living room floor is one to two days. Showers are usually a day. Floors are walkable the same evening; sealer cures fully in 24 to 48 hours, so no rugs or spills until then.
Machines run on wet pads, so there is no dust, but there is water and some noise. Austin works alone, so you will have the same person in your home from first hour to last.
Start at step one.
Two photos of the stone. A real range by tonight.